Make a Timelapse with Photos: The Ultimate Guide for Photographers
Understanding Timelapse Photography
Timelapse photography is a creative technique that allows photographers and videographers to capture changes in scenes over time and present them in a condensed format. By taking a series of photos at set intervals, you can compress hours, days, or even years into just a few minutes of captivating footage. This method is especially useful for showcasing processes such as construction, nature's change of seasons, or even the bustling activity of a city.
Why Choose Timelapse for Your Photography?
There are several compelling reasons to make a timelapse with photos:
- Engagement: A timelapse can capture the audience's attention far more effectively than a standard video or a series of still images.
- Storytelling: It creates a narrative; presenting scenarios that unfold over time adds depth to your projects.
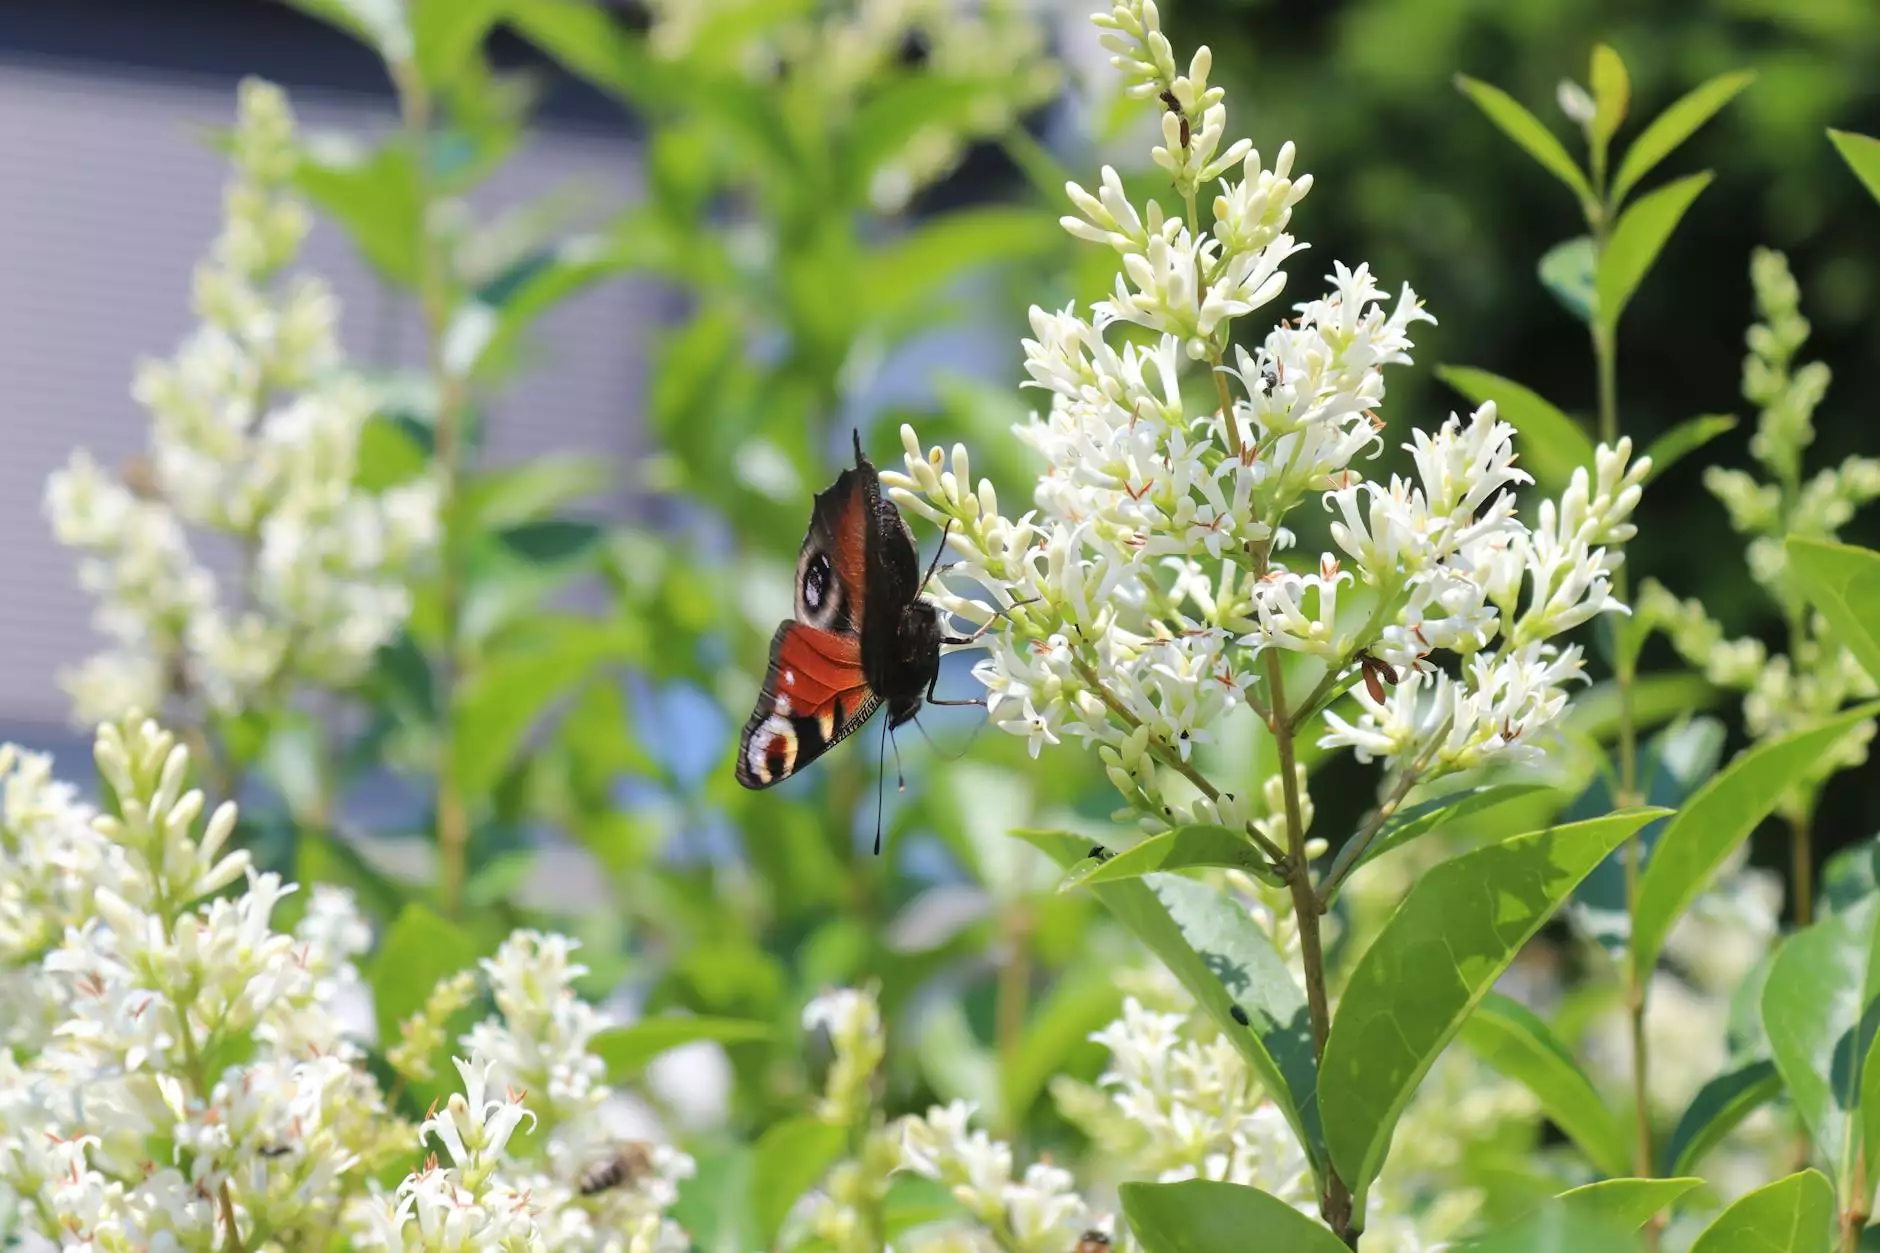
- Showcasing Change: Perfect for capturing events like blossoming flowers, it highlights the beauty of transformation.
Getting Started: Essential Equipment
Before diving into creating your timelapse, it’s important to gather the right equipment:
- Camera: A DSLR or mirrorless camera is ideal, as they allow for manual settings and higher quality images.
- Tripod: Stability is critical; a solid tripod will keep your camera steady throughout the shooting process.
- Intervalometer: This device triggers your camera to take photos at set intervals, making it easier to build your timelapse.
- Lenses: A variety of lenses can help create different effects; a wide-angle lens is typically preferred for landscapes.
- Editing Software: Post-production software like Adobe Premiere Pro, Final Cut Pro, or even dedicated timelapse software is necessary for compiling your photos into a video.
Choosing Your Subject Matter
The success of your timelapse depends significantly on the choice of subject. Here are some captivating ideas:
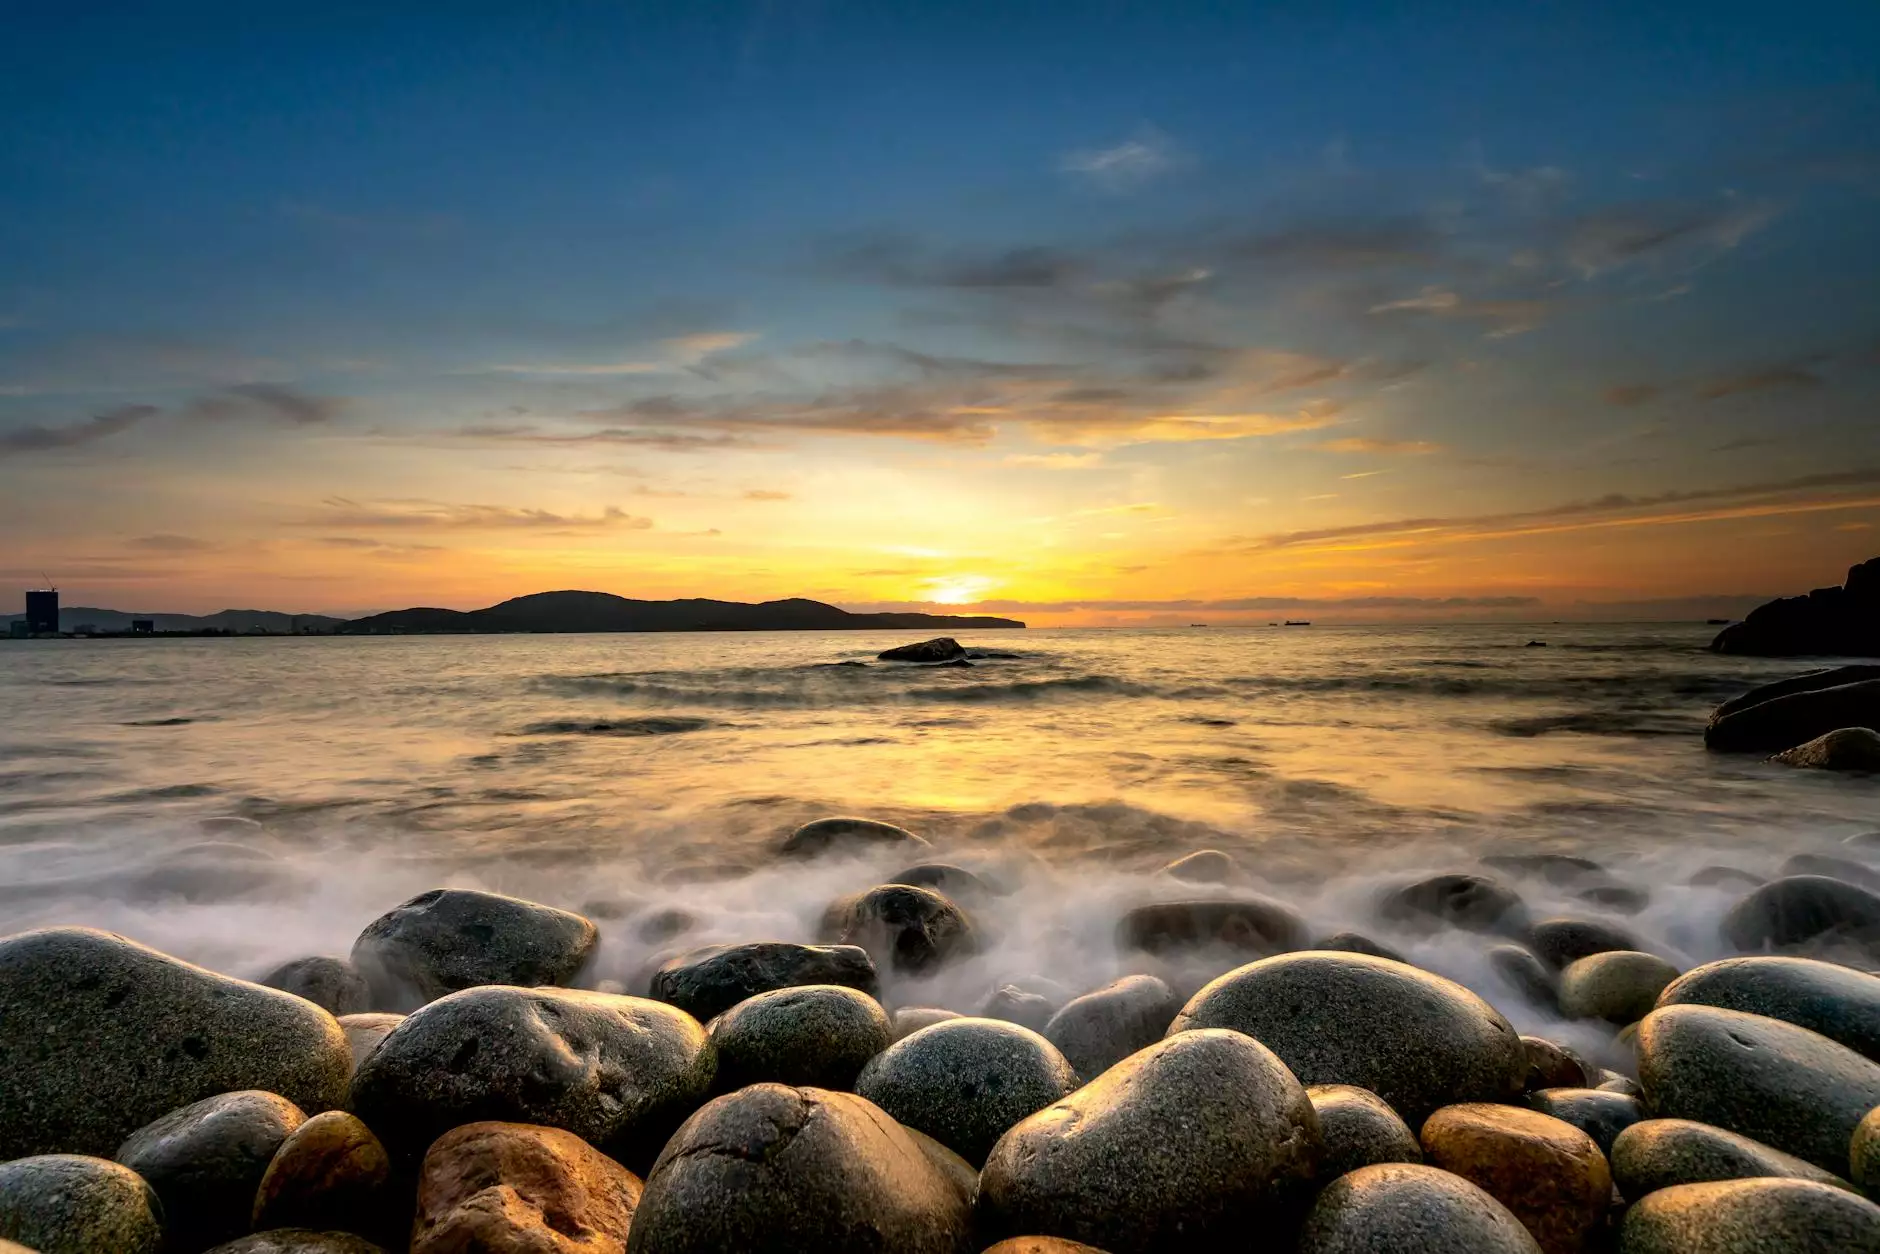
- Natural Landscapes: Capture sunsets, sunrises, or the movement of clouds.
- Urban Environments: Document the hustle and bustle of city life, traffic patterns, or events like parades.
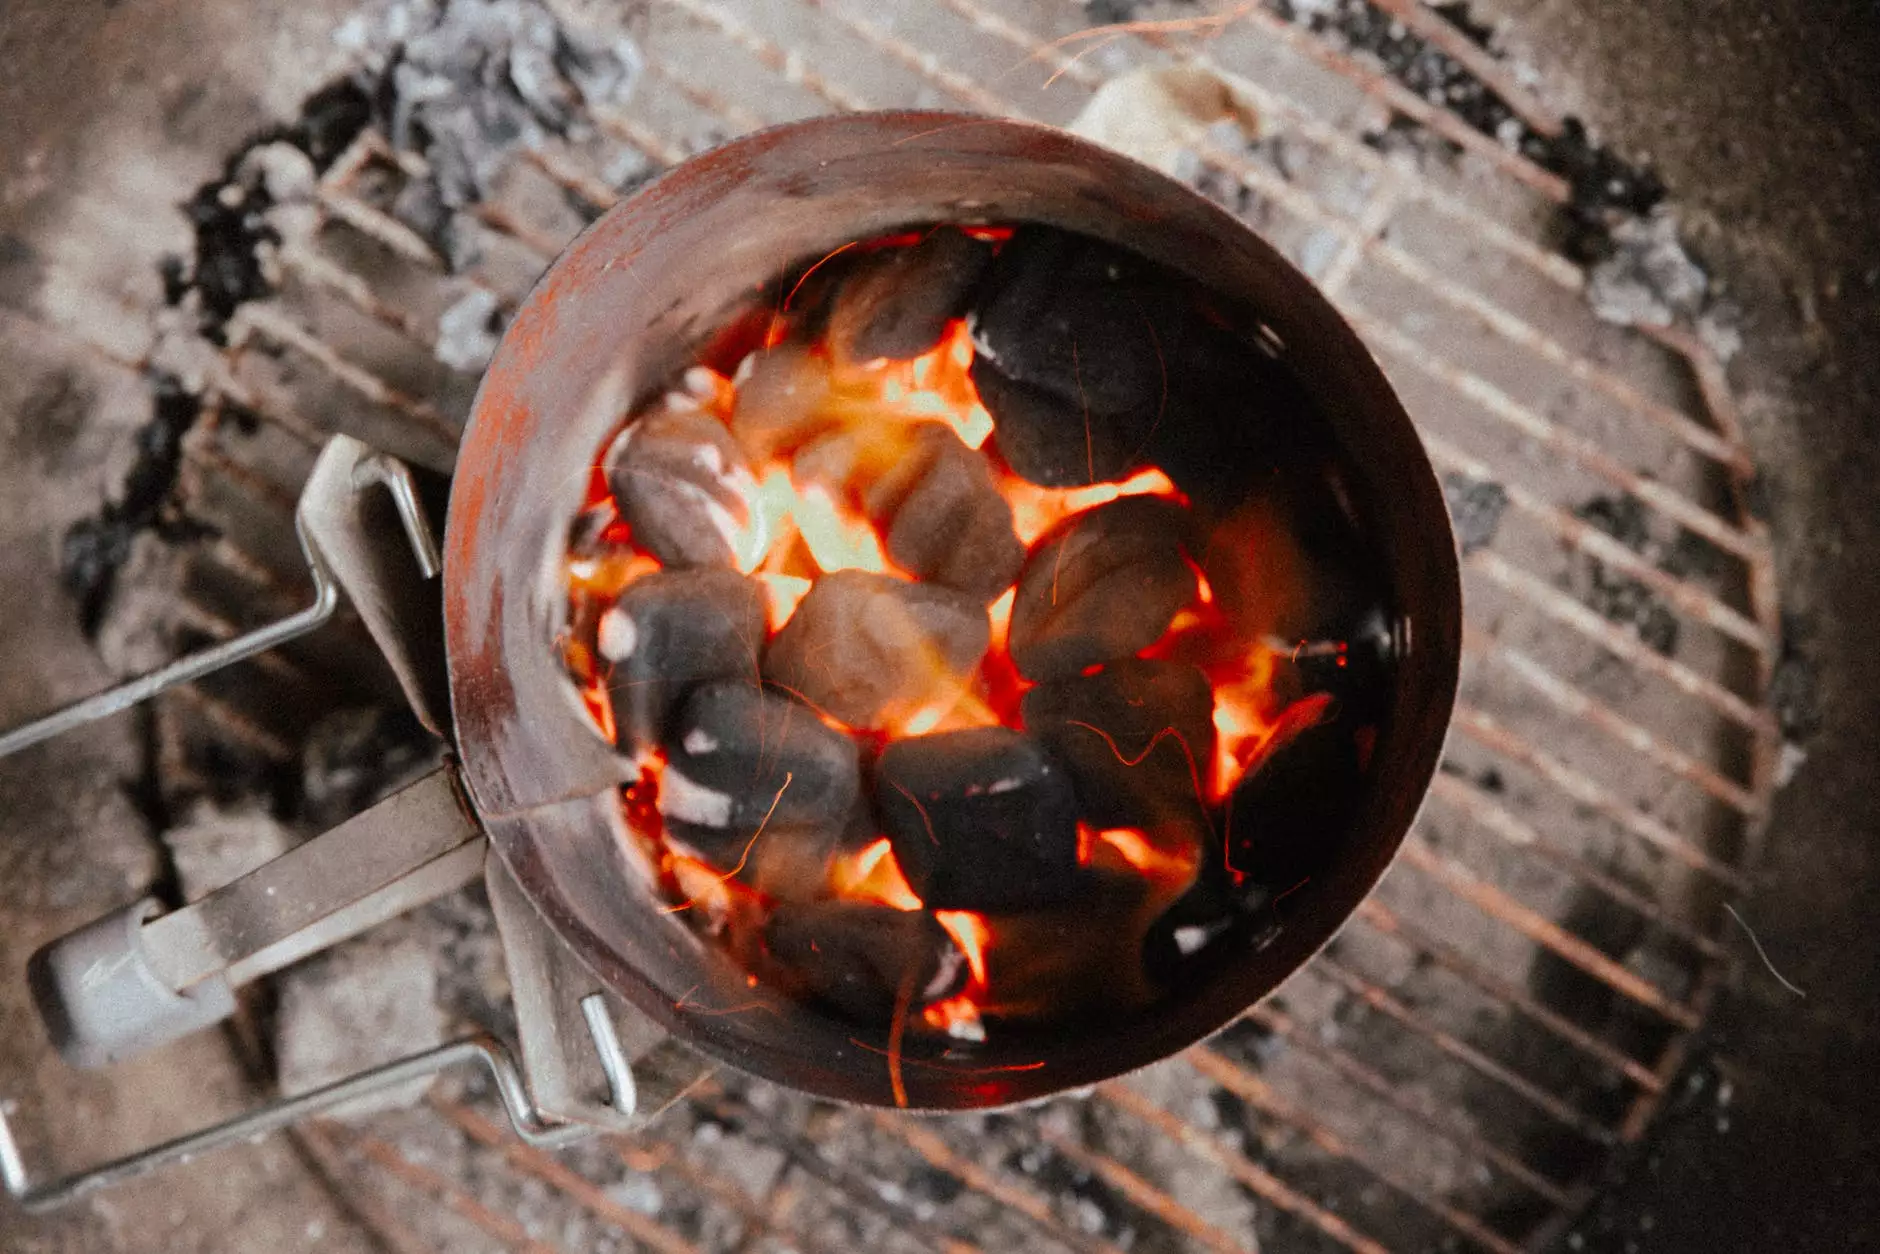
- Construction Projects: Timelapse is particularly useful in real estate photography to show the progress of building from start to finish.
- Floral Growth: Document flowers blooming in a garden; a favorite for many nature lovers.
Preparation Before Shooting
Proper preparation is key to a successful timelapse. Here are crucial steps to consider:
- Scout Your Location: Familiarize yourself with the location at different times of the day to understand lighting and weather conditions.
- Set Up Your Camera: Choose the appropriate settings — ISO, aperture, and shutter speed should be adjusted to accommodate lighting changes.
- Establish the Interval: Decide how often you want to capture images based on how fast the subject changes. For quickly changing scenes, shorter intervals are necessary.
The Shooting Process: Capturing Your Timelapse
It is time to start shooting! Follow these steps to effectively make a timelapse with photos:
- Setup: Position your camera on the tripod and ensure it's stable and framed according to your vision.
- Use an Intervalometer: Set your intervalometer to capture your series of photos based on the intervals you have chosen.
- Monitor Your Progress: Periodically check to ensure that everything is functioning correctly. Make sure the camera settings remain consistent.
- Be Patient: Depending on your subject, be prepared to wait for extended periods. Capture enough footage to ensure a smooth final product.
Post-Production: Bringing Your Timelapse to Life
After you've captured your series of images, the next step is post-production. This is where the magic happens, transforming your still images into an engaging timelapse.
Editing Your Timelapse
Here's how to edit your timelapse effectively:
- Import Your Images: Load all photos into your editing software.
- Adjust Settings: Ensure the frame rate is set correctly. Typically, 24 or 30 fps is standard for video.
- Sequence Images: Create a sequence from your still images that align with the desired timeline of your timelapse.
- Color Correction: Adjust color balance, brightness, and contrast to enhance visual appeal.
- Add Music and Effects: Consider adding a soundtrack or sound effects to elevate the emotional impact of your video.
Exporting Your Project: Tips and Best Practices
Exporting your final timelapse video correctly can significantly influence its quality:
- Resolution: Choose a high resolution to preserve clarity; 1080p or 4K formats are advisable.
- File Format: Export in widely accepted formats like MP4 or MOV for broad compatibility.
- Compression: Balance compression settings so that you maintain quality without creating excessively large files.
Marketing Your Timelapse Photography
In the world of Photography Stores & Services, it’s essential to showcase your work effectively. Here are strategies to consider:
- Create a Portfolio: Dedicate a section on your website, such as bonomotion.com, specifically for your timelapse photography.
- Use Social Media: Share teasers and snippets of your timelapse videos on platforms like Instagram, Facebook, and TikTok to attract followers.
- Network with Other Professionals: Collaborate with real estate agents and event organizers who may find timelapse videos beneficial for their marketing efforts.
Conclusion: Mastering the Art of Timelapse Photography
Creating a stunning timelapse with photos is an achievable yet rewarding endeavor. By following the steps outlined in this guide, you can produce impactful and engaging timelapse videos that will enhance your portfolio and attract a larger audience. Remember, the key lies not only in the technical execution but also in choosing the right subject matter and executing the post-production process effectively. Whether you are a seasoned photographer or venturing into timelapse for the first time, your creativity will shine through in the final product.