Mastering Time-Lapse Photography: A Comprehensive Guide
Taking time lapse photos is more than just a photographic technique; it’s an art form that transforms ordinary moments into spectacular visuals. This guide will walk you through the world of time-lapse photography, showcasing its importance in various industries, particularly in real estate, while providing you with the knowledge and skills to excel.
What is Time-Lapse Photography?
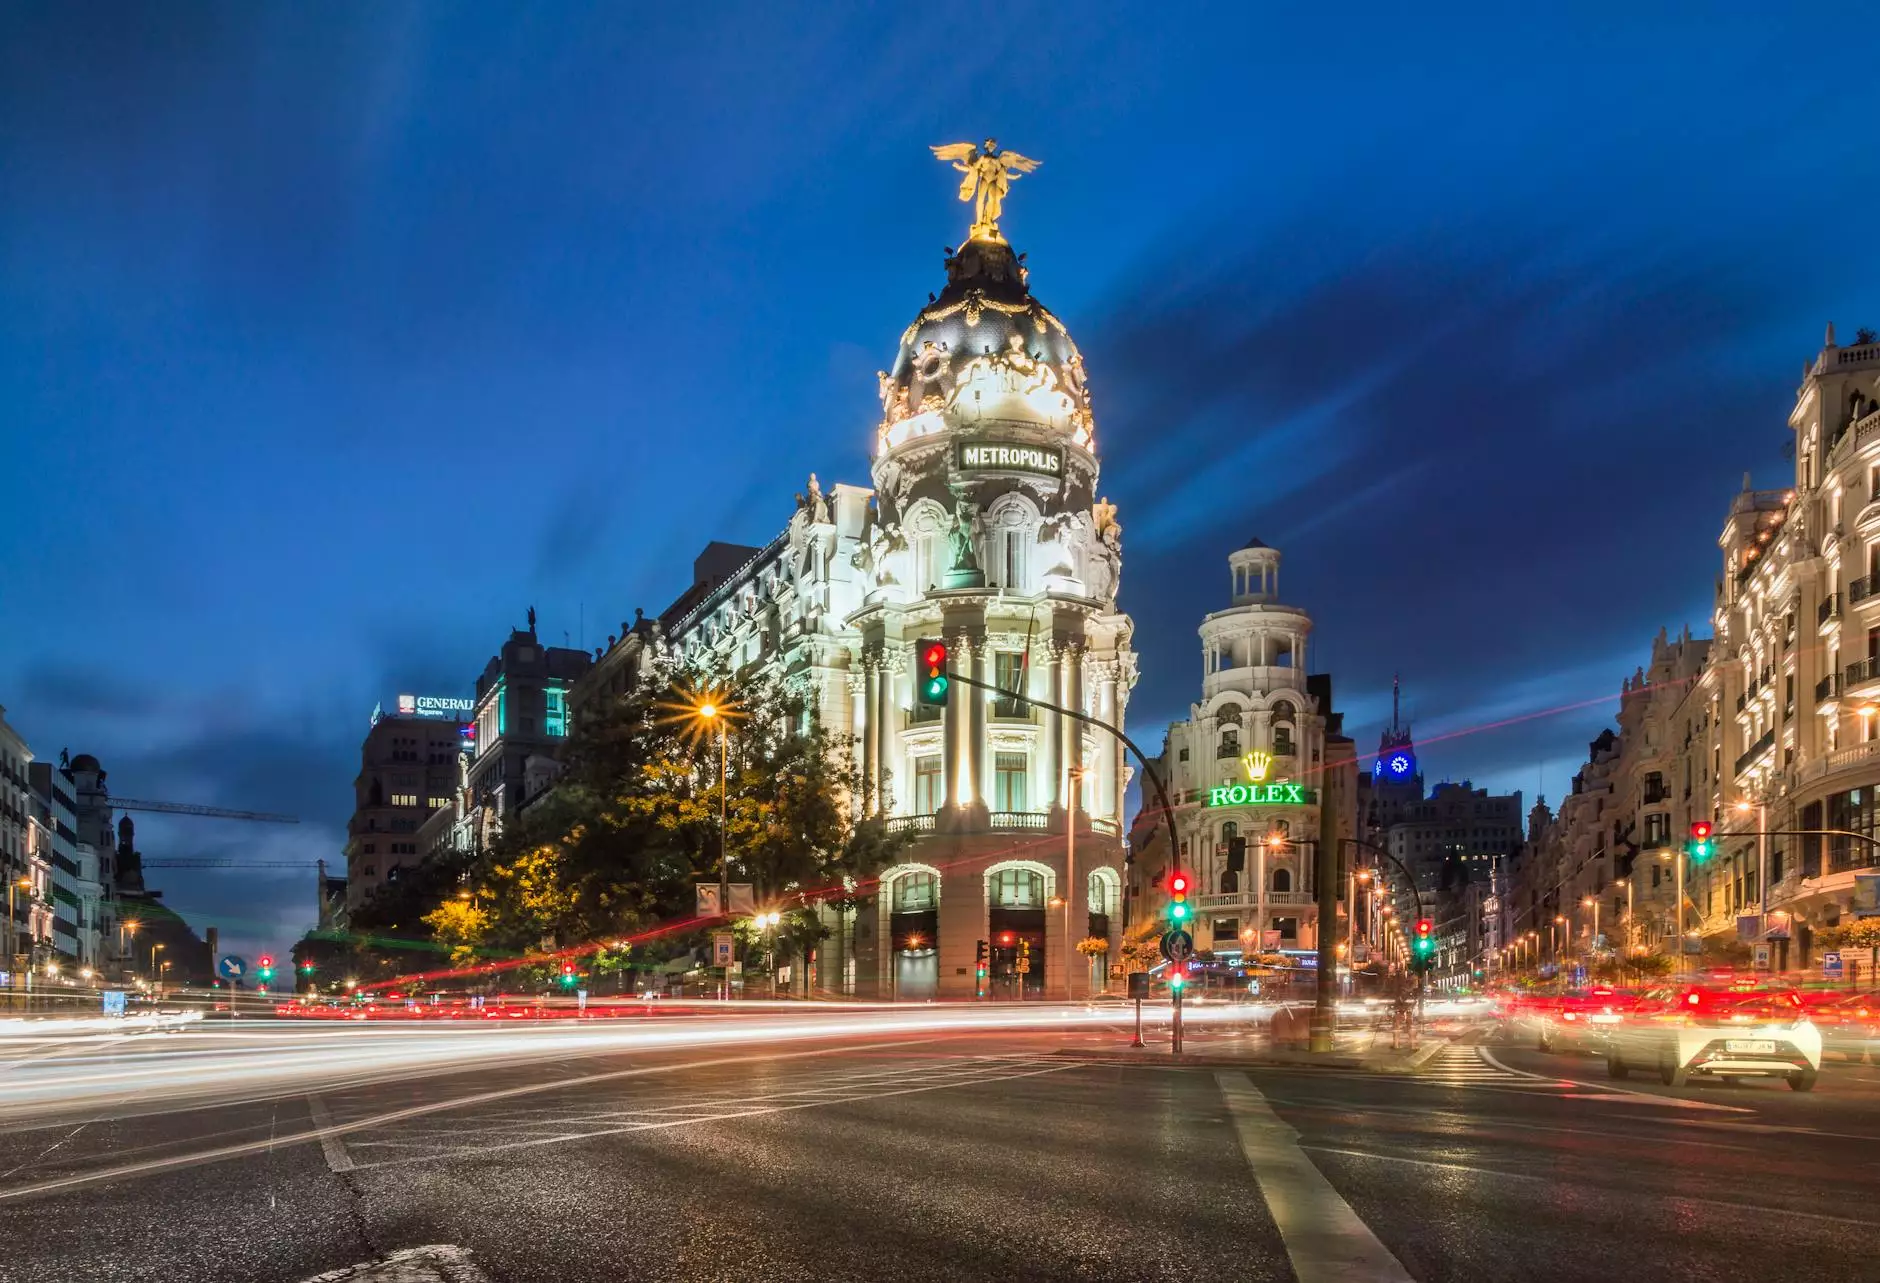
Time-lapse photography involves capturing a series of images at set intervals to record changes that take place slowly over time. When played at normal speed, these images create the illusion of rapid motion. This technique can be used to document everything from bustling city streets to the blossoming of a flower.
Benefits of Time-Lapse Photography
- Enhanced Visual Storytelling: Time-lapse can tell a story in a brief moment, capturing days or hours of change in just a few seconds.
- Unique Perspectives: It offers viewers a perspective they might not typically see, highlighting the beauty in transitions.
- Increased Engagement: For businesses, engaging visuals can draw attention and enhance viewer retention.
- Versatile Applications: Whether in real estate, events, or nature, time-lapse has applications across a wide range of fields.
Equipment Needed for Taking Time Lapse Photos
To get started with taking time lapse photos, you'll need the right equipment. Below are the essentials:
1. Camera
Your choice of camera can significantly impact the quality of your time-lapse photos. Both DSLRs and mirrorless cameras are excellent options due to their manual settings and image quality. Many smartphones also now have time-lapse features, making it easier to experiment on the go.
2. Tripod
A sturdy tripod is crucial for stability when capturing long sequences. Ensure your tripod can support the weight of your camera, especially for DSLRs.
3. Intervalometer
This device acts as a timer that triggers your camera to take photos at set intervals. Some cameras have built-in intervalometers, but you can also purchase external ones for greater flexibility.
4. Neutral Density Filters
Using neutral density (ND) filters allows you to manage the exposure, especially in bright conditions, enabling longer shutter speeds without overexposing your images.
Techniques for Taking Time Lapse Photos
Now that you have your equipment, let’s delve into the techniques that will help you master the art of taking time lapse photos.
1. Planning Your Shoot
Consider the subject you want to capture. Whether it’s a sunset, a construction process, or the changing seasons, planning is key. Scout locations and think about the angle, framing, and timing.
2. Setting Your Camera
Use manual settings to control exposure, focus, and white balance, preventing flickering in your final video. Set your camera to shoot RAW for better flexibility in post-processing.
3. Choosing the Right Interval
The interval between shots greatly influences the final outcome. For slow-moving subjects, longer intervals of 1-10 seconds might be ideal, while faster subjects may require shorter intervals.
4. Duration and Total Shots
Calculate the total duration of your time-lapse by determining how long you want your final video to be. The standard frame rate is 24 frames per second. For example, if you want a 10-second clip, you’ll need 240 frames: consider how long it will take for your subject to change and set the number of shots accordingly.
5. Post-Processing Your Photos
Once you’ve captured your images, it’s time to compile and edit. Use software like Adobe Premiere Pro or Final Cut Pro to create a smooth playback and adjust exposure and colors to enhance your footage.
Time-Lapse Photography in Real Estate
In the realm of real estate, taking time lapse photos is becoming an increasingly valuable marketing tool. Here’s how:
1. Showcasing Properties
Using time-lapse can effectively showcase a property’s exterior and surrounding environment, capturing the foot traffic, lighting changes, and unique features over time.
2. Documenting Renovations
Time-lapse photography is perfect for documenting renovation projects. By capturing the entire process from start to finish, real estate professionals can illustrate the transformation of a property in an engaging way.
3. Highlighting Neighborhood Activity
Showing the vibrancy of a neighborhood through time-lapse can attract potential buyers. It provides a sense of community and lifestyle that standard photos may lack.
Conclusion: Become a Time-Lapse Photography Pro
Embracing the art of taking time lapse photos can add a unique dimension to your photography repertoire. Whether you’re documenting a construction project, capturing nature, or showcasing real estate, mastering this technique will elevate your skills and your storytelling ability. With the right planning, equipment, and techniques, you’ll be well on your way to creating stunning time-lapse videos that reflect the beauty of change and time.
FAQs About Time-Lapse Photography
1. What settings should I use for time-lapse photography?
Optimal settings vary by subject, but generally, use manual mode with a low ISO, a narrow aperture, and focus set at infinity (if applicable). Adjust your shutter speed based on the lighting conditions.
2. How long should I shoot for?
The length of time you'll need to shoot depends on the motion speed of your subject and the desired length of your final video. Frequent, shorter intervals work best for fast-moving subjects, while longer intervals work for slow movements.
3. Are there specific software programs for editing time-lapse videos?
Yes, programs like Adobe Premiere Pro, Final Cut Pro, and even iMovie can be used to compile, edit, and enhance your time-lapse videos.
4. Can I do time-lapse photography with a smartphone?
Absolutely! Many smartphones have built-in time-lapse modes that make it easy to get started. However, for professional quality, consider using a dedicated camera.
5. What are common mistakes to avoid in time-lapse photography?
Some common mistakes include using automatic settings, overlooking image stability, improper focus, and having varying lighting conditions without adjustments. Planning and using manual settings can help avoid these issues.
Start Capturing Today!
Now that you’ve learned the ins and outs of taking time lapse photos, it’s time to grab your camera and start capturing! With creativity and practice, you will undoubtedly produce breathtaking time-lapse videos that resonate with audiences across various platforms.